This post contains affiliate links. If you download a pattern through them, I may earn a small commission at no extra cost to you. Thank you for supporting Little Amigurumi Studio!
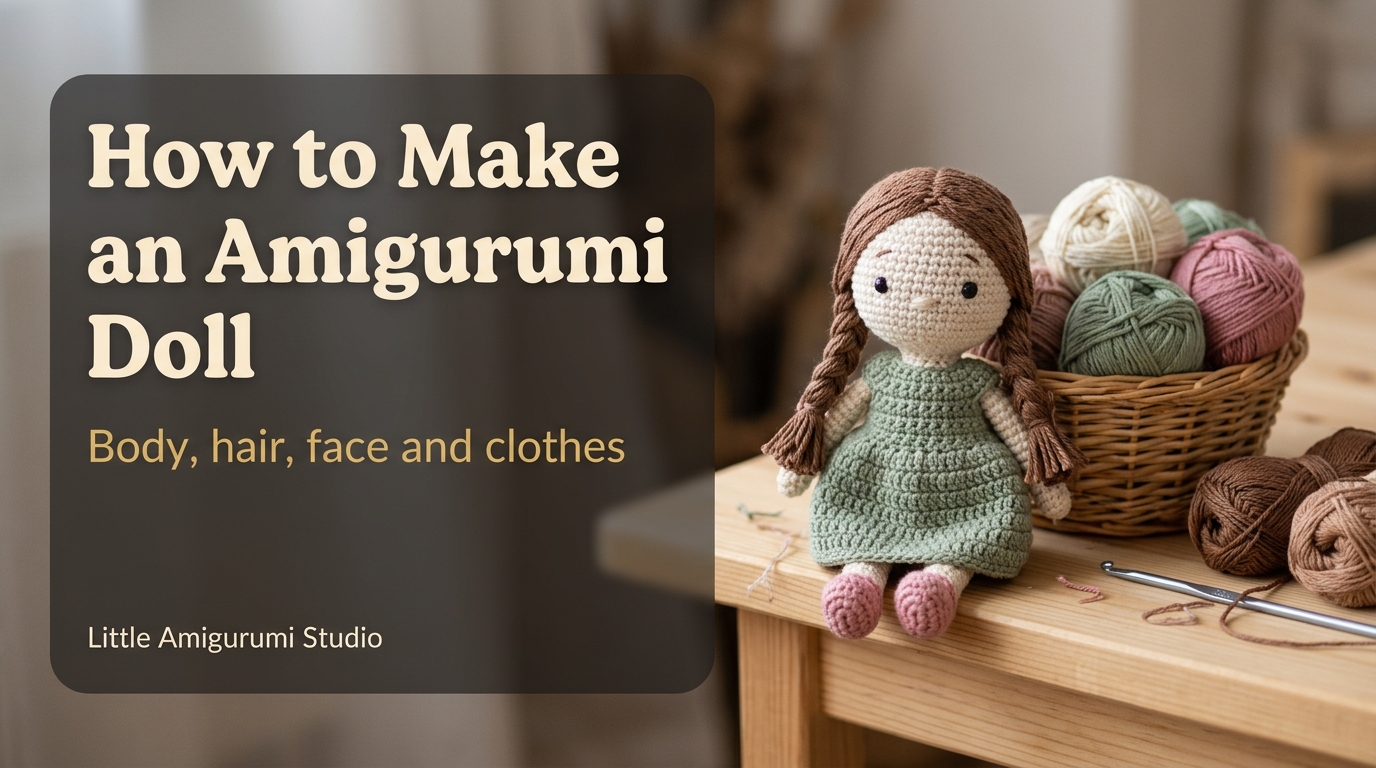
A crochet doll looks like a big project, but it is really a handful of small, simple shapes that you join together. A round head, a body, two arms and two legs are all worked with the same stitches you use for any amigurumi toy. The charm comes from the details: the hair, the face and the little outfit.
This guide shows how an amigurumi doll is built, from the first round to the finished outfit, and what to check before you choose a doll pattern. At the end you will find five PDF doll patterns, including one that is listed as beginner friendly.
What You Need Before You Start
A doll uses the same basic kit as any amigurumi toy, with a few extras for the hair and clothes. If you are new to the craft, my amigurumi starter kit guide covers the essentials in detail.
- Smooth yarn for the body. A light skin tone or cream shows the stitches clearly, which makes counting easier.
- A small hook. Use the size your pattern lists. Tight stitches keep the stuffing from showing through.
- Yarn for hair and clothes. Choose colors you like. Clothes are usually worked in a different yarn from the body.
- Fiberfill, stitch markers, a yarn needle and scissors.
- Eyes. Safety eyes or embroidery thread, depending on who the doll is for.
- Extras for the outfit. Some patterns call for buttons, small snaps or a sewing needle and thread, so read the materials list first.
How an Amigurumi Doll Is Built
Almost every crochet doll follows the same plan. Knowing it makes any pattern easier to follow.
1. The Head
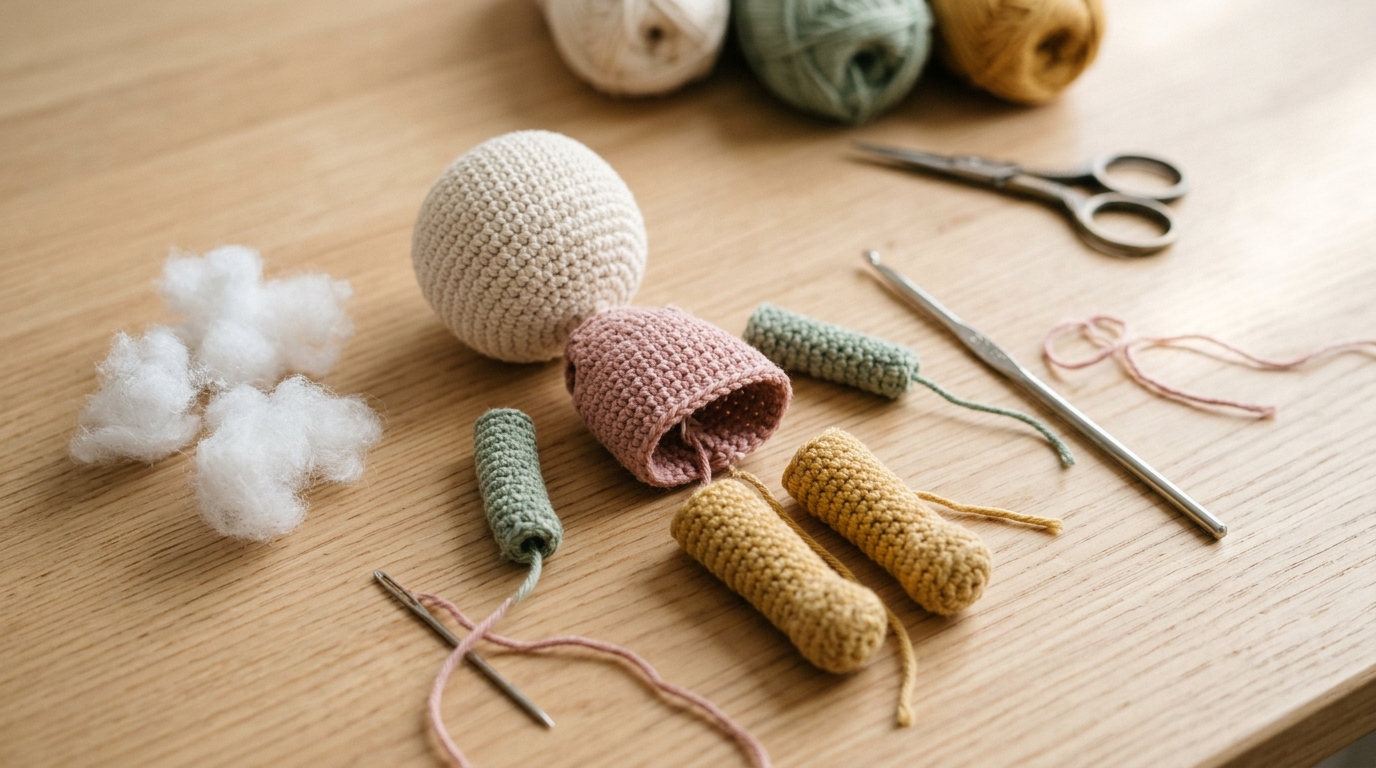
The head starts with a magic ring. You increase round by round until it is as wide as you want it, work a few even rounds, then decrease to close it. Many patterns work the head and body in one piece, and others make them separately and sew them together. Either way, stop before the last round, add the stuffing and then close it. A smooth finish depends on your decreases, so it helps to know the invisible decrease.
2. The Body
The body is a small tube or oval, worked in the same spiral of rounds. Stuff it firmly. A body that is too soft makes the doll flop over and makes the clothes hang badly.
3. Arms and Legs
Arms and legs are narrow tubes. Stuff them lightly, or only at the hands and feet, so the limbs bend a little at the shoulders and hips. There are two common ways to attach them: sew them on with the yarn needle, or crochet them to the body as you work. Pin them in place and look at the doll from the front and the side before you sew. A pair of limbs that sits even is what makes a doll look neat.
4. The Face
Place the eyes before you close and stuff the head, if you use safety eyes, because they lock on from the inside. Check the position from a distance. Eyes set low and wide apart give a sweet, childlike face. Embroidery thread is the other choice. A few small stitches make eyes, a mouth and sometimes cheeks, and there are no small parts that can come off. Embroidery is the safer option for a toy for a baby or a young child.
5. The Hair
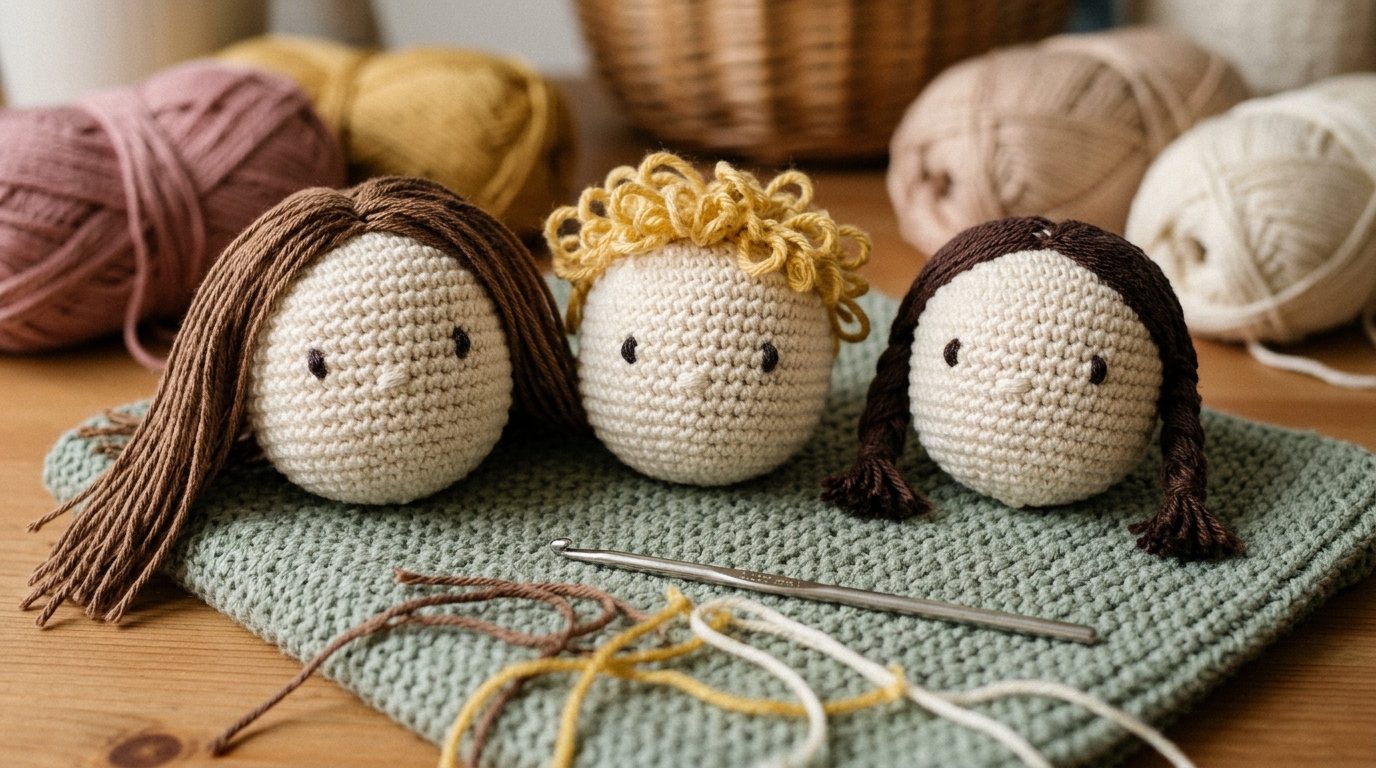
The hair is where a doll gets its personality. Three methods are common:
- Yarn strands. Cut lengths of yarn, fold them in half and pull the loop through a stitch on the head with the hook. This works for long hair, bangs and ponytails.
- Sewn loops. Sew loops of yarn onto the head with the needle for a curly or wavy look.
- A crocheted wig or cap. Some patterns work the hair as a separate piece that is sewn on. It is quick to place, and you can change it later.
Test the hair on the head with pins before you sew it permanently.
6. The Clothes
Dolls are dressed with small crocheted pieces: dresses, skirts, tops, hats, cardigans and shoes. They are worked in rounds or rows with the same stitches and are often easier than the doll itself, because you can try them on and adjust. Stitch the pieces on the doll’s body as a fitting, and change the hook size if a piece looks too tight or too loose.
How to Choose a Doll Pattern
Doll patterns differ more than most toy patterns, so check these points on the product page before you buy. If you need help with the language of a pattern, see my guide on how to read an amigurumi pattern.
- Skill level. A full outfit with hats, shoes and small accessories takes longer than a plain doll. If you are starting out, choose a pattern the designer lists as beginner friendly.
- What is included. Look at whether the PDF covers the doll only, or the hair and the whole outfit too.
- Pictures. A pattern with many step-by-step photos is much easier to follow when you reach assembly.
- Language and terms. Check that the PDF uses the terms you know, such as US terms.
- Finished size. The size depends on your yarn and hook, so a thicker yarn makes a bigger doll.
5 Doll Patterns to Try
Here are five doll patterns from my collection. The details come from each product page. Check the page for the exact materials, level and terms before you buy. You can see more in my doll patterns collection.
1. Frog Hat Doll
Listed as beginner friendly. The doll is about 9 in (22-23 cm) tall, wears a frog hat and overalls, and the pattern expects you to know the magic ring, single crochet, increases and decreases. The materials listed are cotton yarn, a hook, fiberfill, safety eyes or embroidery thread, buttons and a sewing needle. It is a good first doll if you are comfortable with the basic amigurumi stitches.
Get the Frog Hat Doll Pattern →
2. Lamb Hat Doll
A doll about 9 in (22-23 cm) tall with a lamb-ear hat, a cardigan, a flowered top, a skirt, little shoes, wavy yarn hair and an embroidered face. The PDF includes step-by-step instructions with many process photos. It is a longer project because of the outfit, so it suits you once you have made a simple doll.
Get the Lamb Hat Doll Pattern →
3. Autumn Doll With a Raincoat
Doll Auri, about 9 in (22-23 cm) tall, with a yellow raincoat with a hood, dark green rain boots, a small red balloon and a little crochet boat. The PDF has 40 pages with more than 50 step-by-step photos, in English with US terms, and it includes face embroidery, hair and assembly instructions.
Get the Raincoat Doll Pattern →
4. Festive Doll
A 9 in doll with a festive outfit, a whimsical character hat, decorative costume details and a tiny red balloon. The PDF is described as a 42-page crochet masterclass with more than 50 photos, a materials and tools list and a list of crochet abbreviations.
Get the Festive Doll Pattern →
5. Hijabi Doll
Listed as intermediate. The doll is about 8-10 in tall with the recommended yarn and hook, and the size varies with your materials. The pattern covers the doll body, a robe, a hijab, shoes and accessories, with pictures for each part. It is a PDF in English, delivered as a digital download.
If you would rather begin with a smaller toy, my guide to easy amigurumi patterns for beginners lists seven projects to try first. You can also browse all doll and character patterns or the full patterns page.
Tips for a Neater Doll
- Keep your tension even. Loose stitches show the stuffing and make the doll look lumpy.
- Stuff in small pieces. Push the filling into the corners first and then fill the middle, so the shape stays even.
- Pin before you sew. Pin the limbs, the hair and the face details and look at the doll from several sides.
- Sew with the same yarn. Use a matching yarn for assembly, and weave the ends inside the body.
- Make the clothes last. Dress the doll as you go, so you can adjust the size of each piece.
- Think about who it is for. For a baby or a young child, use embroidered features and avoid buttons and other small parts, or follow the safety guidance for toys where you live.
Frequently Asked Questions
Is an amigurumi doll hard to crochet?
A doll has more pieces than a simple animal, but each piece uses basic stitches. If you know the magic ring, single crochet, increases and decreases, a beginner-friendly doll pattern is within reach. A full outfit with accessories is better saved for your second or third doll.
How long does it take to crochet a doll?
It depends on the size, the yarn, how detailed the outfit is and how fast you work. A plain doll is much quicker than one with a hat, shoes and accessories, so read the pattern before you decide.
What is the best yarn for a crochet doll?
Use smooth yarn in a light color for the body, since it shows the stitches. For the clothes and hair you can use any yarn you like, as long as it works with the hook size your pattern recommends. For a closer look at fibers, weights and yarn labels, read my guide on the best yarn for amigurumi.
How do I make hair for an amigurumi doll?
The usual methods are pulling folded strands of yarn through the head with a hook, sewing on loops of yarn, or crocheting a wig or cap that is sewn on. Pin the hair in place first so you can check the look before you sew.
Are safety eyes safe for a child’s doll?
Safety eyes lock on firmly, but for babies and young children embroidered eyes are the safer choice, because they have no small parts. Follow the safety rules for toys where you live.
Can I change the size of a doll?
Yes. A thicker yarn with a bigger hook gives a bigger doll, and a thinner yarn gives a smaller one. The clothes will change size too, so use the same yarn for the whole doll.
Happy crocheting!
1 thought on “How to Make an Amigurumi Doll: Body, Hair, Face and Clothes”