This post contains affiliate links. If you download a pattern through them, I may earn a small commission at no extra cost to you. Thank you for supporting Little Amigurumi Studio!
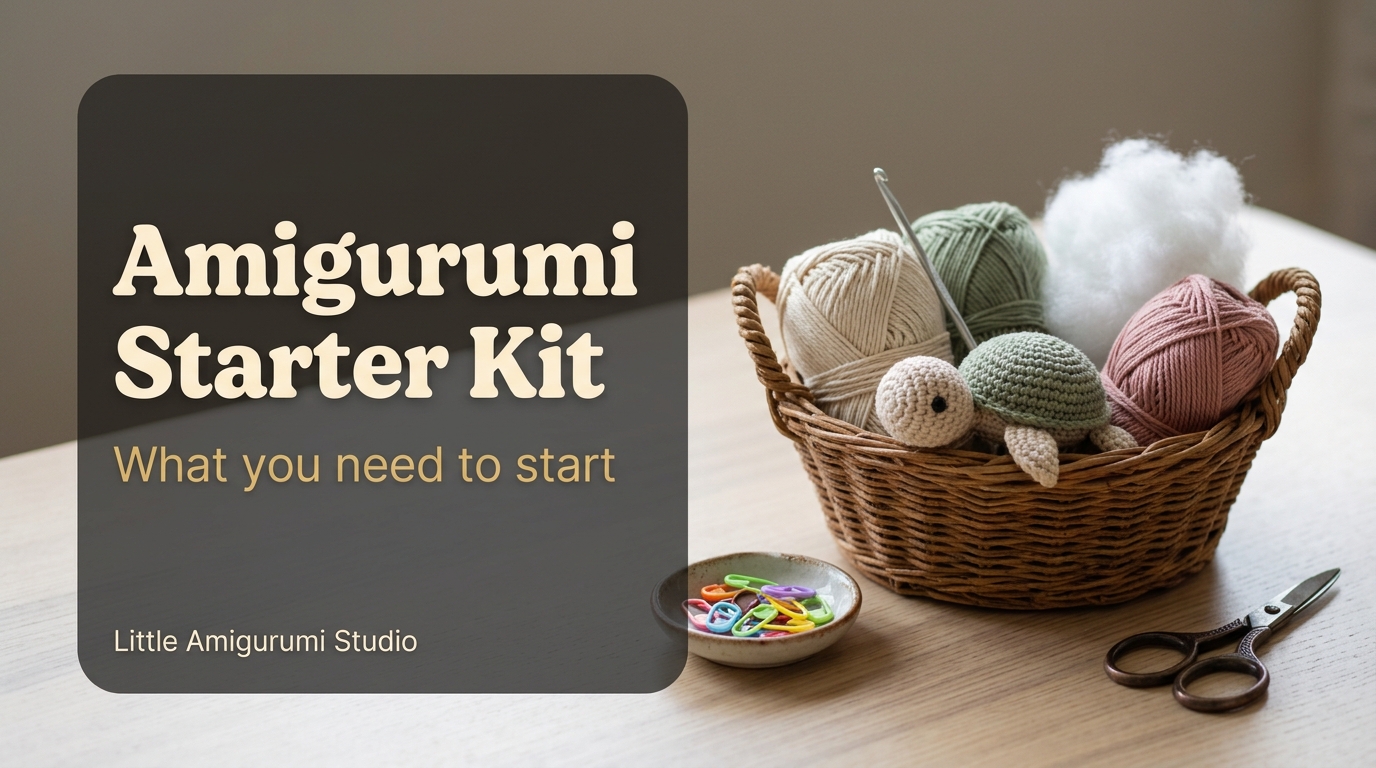
An amigurumi starter kit does not have to be big or expensive. To crochet your first toy you need only a handful of tools: a hook, smooth yarn, stuffing, a way to mark your rounds and something to sew and finish with. Everything else can wait until you know you enjoy it.
This guide lists what to put in your amigurumi starter kit, why each item matters and what to choose, whether you buy a ready-made kit or collect the pieces yourself. At the end you will find four PDF patterns that suit a first project.
Your Amigurumi Starter Kit at a Glance
| Item | Why you need it |
|---|---|
| Crochet hook | Amigurumi is worked tightly, so the hook is usually smaller than the one on the yarn label. |
| Smooth yarn | Smooth, light-colored yarn shows every stitch, so mistakes are easy to spot. |
| Stuffing | Polyester fiberfill is the usual choice. It is washable, light and easy to shape. |
| Stitch markers | They mark the start of each round, so you do not lose your place in the spiral. |
| Yarn needle | A blunt needle with a large eye closes the last round and sews the parts together. |
| Scissors | Small, sharp scissors give a clean cut and keep your yarn tails neat. |
| Eyes | Safety eyes or embroidery thread for the face, depending on who the toy is for. |
The Essentials, Item by Item
Yarn
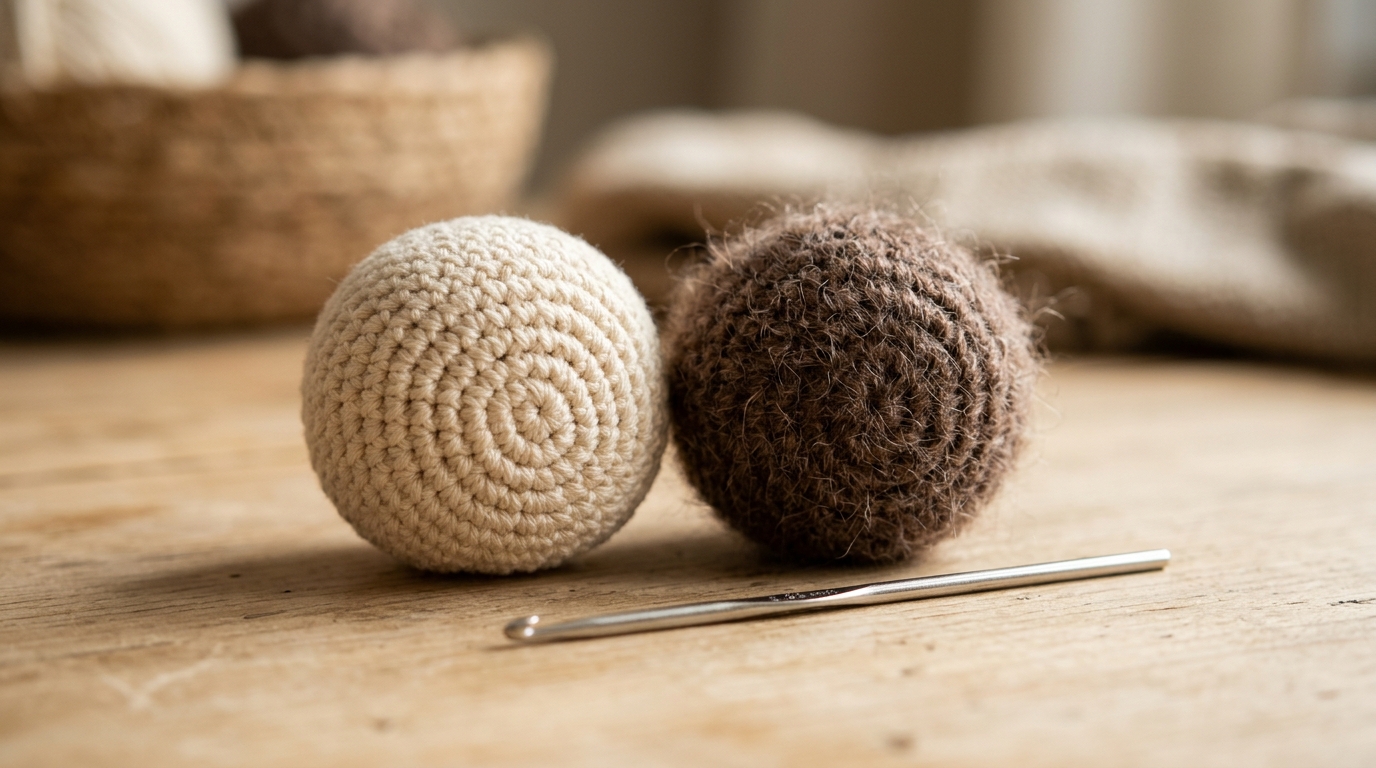
Pick a smooth yarn in a light, plain color. Cotton and cotton blends are a popular choice for amigurumi because they hold their shape and show the stitches clearly. Fuzzy, hairy or very dark yarn hides the stitches, which makes counting and fixing mistakes much harder. Save it for later projects.
Start with a small amount in one or two colors. Small toys use very little yarn: the turtle keyring pattern below is described as using small amounts of yarn. The pattern’s materials list tells you the yarn weight and roughly how much you need, so check it before you shop. For a closer look at fibers, weights and yarn labels, read my guide on the best yarn for amigurumi.
Crochet Hook
Follow the hook size that your pattern recommends. Amigurumi stitches should be tight enough that the stuffing does not show through, so the hook is often smaller than the one printed on the yarn label. For example, the bat pattern below lists fingering or light worsted yarn with a 2.5 or 3.0 mm hook. A hook with a comfortable, non-slip handle is worth having if you plan to crochet for longer sessions.
If you are not sure how to read the hook and yarn information in a PDF, my guide on how to read an amigurumi pattern explains it step by step.
Stuffing
Polyester fiberfill is the most common filling for amigurumi. Stuff in small pieces and push them into the corners first, such as the ends of arms and ears, then fill the middle. Firm, even stuffing gives a toy that keeps its shape. Stuff before you close the last round, and add a little more if the toy feels soft when you squeeze it.
Stitch Markers
Most amigurumi is worked in a continuous spiral, so there is no visible end to a round. Put a marker in the first stitch of each round and move it up as you go. Locking markers are handy, but a short scrap of contrasting yarn works too.
Yarn Needle and Scissors
A blunt-tipped yarn needle with a big eye lets you weave in ends, close the last round and sew on parts. Choose small, sharp scissors for clean cuts. A neat finish also depends on your decreases, and my guide to the invisible decrease shows how to close a shape smoothly.
Eyes: Safety Eyes or Embroidery
There are two common options for the face:
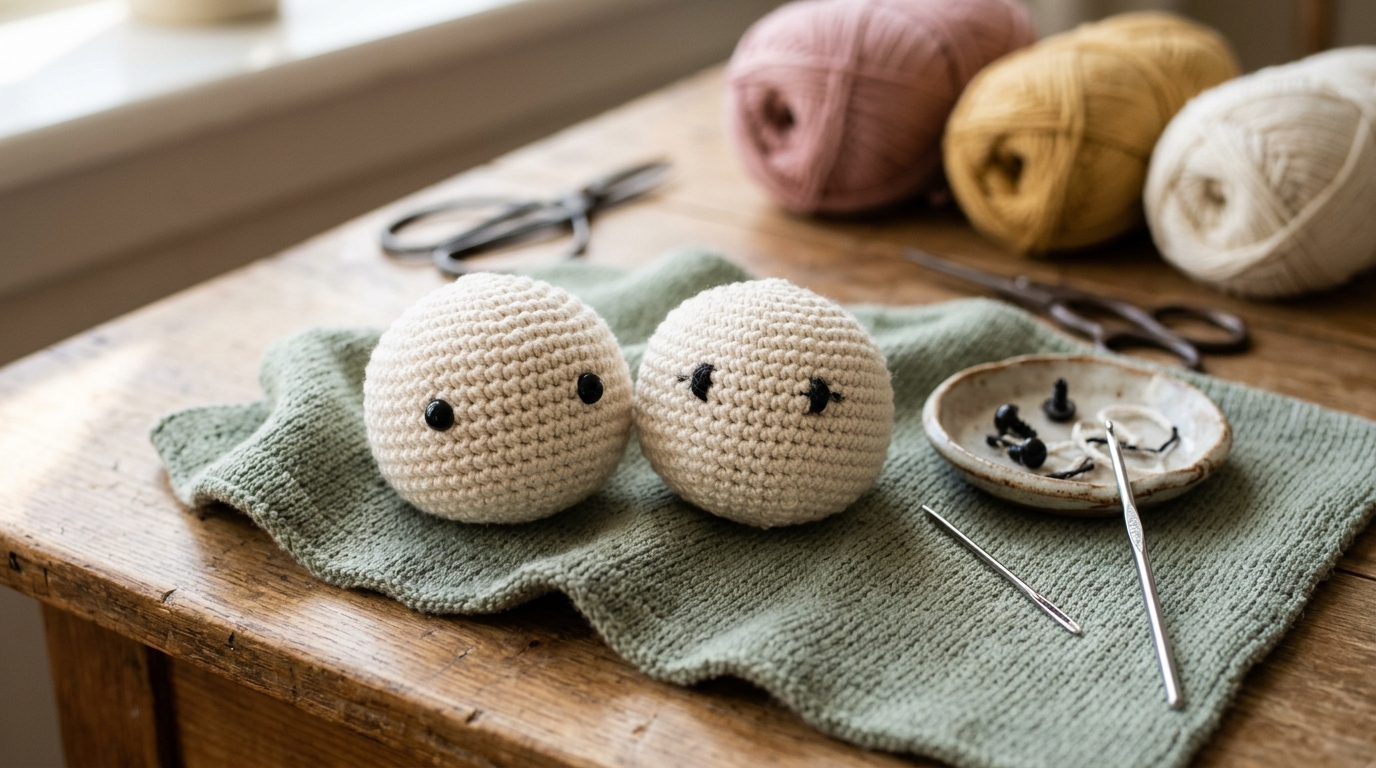
- Safety eyes. These are plastic eyes with a washer that locks on the back. They are fitted before the toy is stuffed and cannot be taken off afterwards, so place them carefully and check the position before you lock them.
- Embroidered eyes. Black or dark embroidery thread, stitched on after stuffing. It has no small parts that can come loose, so it is the safer choice for babies and young children.
If a toy is for a young child, use embroidery or follow the safety guidance for toys where you live. Some patterns, such as the rabbit lovey below, are described by the designer as using stitched facial features and no plastic parts.
Nice to Have, but Not Needed at First
- Row counter. Handy for long patterns, but a pen and paper work well, and you can tick off every round.
- Sewing pins or clips. They hold arms, ears and legs in place while you check the position before you sew.
- Small project bag. It keeps the yarn, hook and unfinished parts together.
- Extra hook sizes. A few sizes are useful once you try different yarns, but begin with the size your first pattern asks for.
Ready-Made Kit or Build Your Own?
Both work, and the better choice depends on how you like to start.
- A ready-made kit gives you the pattern, yarn and often the eyes and stuffing in one package, so there is nothing to choose. Check what is included, because some kits leave out items such as the hook or stuffing.
- Building your own kit lets you pick the yarn colors and the exact toy you want. It also helps you learn which tools you like, and you can reuse them for every later project.
If you build your own kit, choose the pattern first. Its materials list tells you exactly what to buy, which avoids guessing about hook sizes and yarn amounts.
How to Check a Pattern’s Materials List
Before you buy yarn, open the pattern’s product page and look for the materials list. These are the points to check:
- Yarn weight and amount. The list names the weight, and sometimes the colors and approximate amount.
- Hook size. Use the size the designer lists as your starting point. If your stitches look loose, go down a hook size.
- Eyes and filling. See whether the pattern uses safety eyes, embroidery or both.
- Finished size. The size depends on your yarn and hook, so a thicker yarn gives a bigger toy.
- Stitches you need to know. Make sure you know each one, and learn the magic ring first if you do not.
4 Patterns to Try With Your Starter Kit
Here are four PDF patterns from my collection that suit a first project. The details come from each product page, so check the page for the exact materials, terms and file details before you buy.
1. Cute Crochet Turtle Keyring
Listed as Beginner / advanced beginner. The PDF includes a complete materials list, hook and yarn recommendations, round-by-round instructions with stitch counts and stuffing guidance. The finished turtle is about 8-10 cm tall, and it uses small amounts of yarn, so it is a gentle first project.
2. Beginner Crochet Rabbit Lovey
Listed as Beginner-friendly. A bunny head with floppy ears on a textured lovey blanket, with stitched facial features and no plastic parts according to the designer. It is a good way to practice embroidered eyes. As with any toy for a baby, follow your local safety guidance.
3. Bat Amigurumi
Described as an easy pattern. A little bat about 12 cm tall with a wingspan of about 12 cm. The materials are fingering or light worsted yarn with a 2.5 or 3.0 mm hook, which makes it a useful lesson in working with a small hook. The designer says two or three can be made in a day.
4. Cute Cat Amigurumi
Two round crochet cats, one white and one grey, with black ears, nose and simple stitched features. It is quick, beginner-friendly and easy to customize with different yarn colors.
Want more ideas? Read my guide to easy amigurumi patterns for beginners, browse the amigurumi animal patterns, or see everything on the patterns page. If the craft is new to you, start with what amigurumi is.
Frequently Asked Questions
What do I need to start amigurumi?
A crochet hook, smooth yarn, stuffing, stitch markers, a yarn needle, scissors and eyes or embroidery thread. Use the materials list of your first pattern to choose the hook size and yarn weight.
What size hook is best for amigurumi?
There is no single best size. Use the hook the pattern recommends and adjust if the stitches look loose. Amigurumi is worked tightly, so the hook is often smaller than the one suggested on the yarn label.
Do I need safety eyes?
No. Embroidered eyes are a good alternative, and they are the safer choice for babies and young children, because they have no small parts that can come loose.
Is a ready-made kit worth it for a beginner?
It can be, because everything arrives together and there is nothing to choose. Check what the kit includes, since some do not contain a hook or stuffing, and compare it with the materials list of the pattern you want to make.
Can I use any yarn for amigurumi?
You can, but smooth cotton or cotton-blend yarn in a light color is the easiest to start with, because you can see every stitch. Fuzzy or dark yarn is harder to count.
Happy crocheting!
1 thought on “Amigurumi Starter Kit: What You Need to Start Crocheting Toys”