This post contains affiliate links. If you download a pattern through them, I may earn a small commission at no extra cost to you. Thank you for supporting Little Amigurumi Studio!
If you are looking for easy amigurumi patterns, the best first projects have a few things in common: a simple round shape, only a handful of parts and clear photos for every step. A good first toy should leave you feeling proud, not stuck on round 14 wondering what went wrong.
This guide explains what makes an amigurumi pattern easy, how to read the skill labels on product pages, and which seven PDF patterns from my collection are good places to begin. Every skill level below comes from the pattern’s own product page, so you can see what the designer says it requires.
What Makes an Amigurumi Pattern Easy?
Skill labels vary from designer to designer, so it helps to know what to look for yourself:
- Few parts. A toy made of a body, two ears and a tail is quicker than one with arms, legs, clothes and hair. Fewer parts also means less sewing at the end.
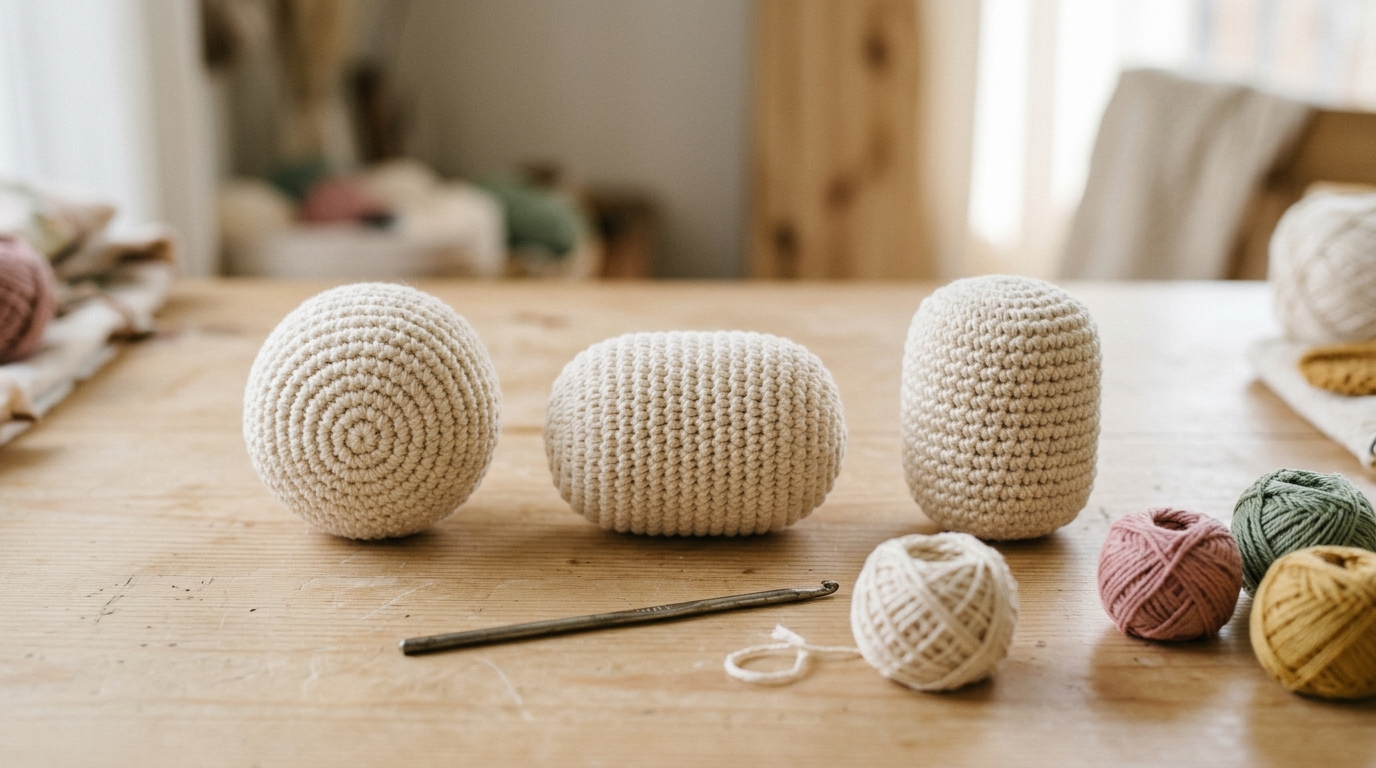
- Simple shapes. Balls, ovals and short tubes are the easiest shapes to crochet and stuff evenly.
- Basic stitches only. Most easy patterns use the magic ring, single crochet, increases and decreases. If a pattern lists a long string of other stitches, it is a step up.
- Step-by-step photos. Pictures of the tricky parts, like attaching limbs, save a lot of guessing.
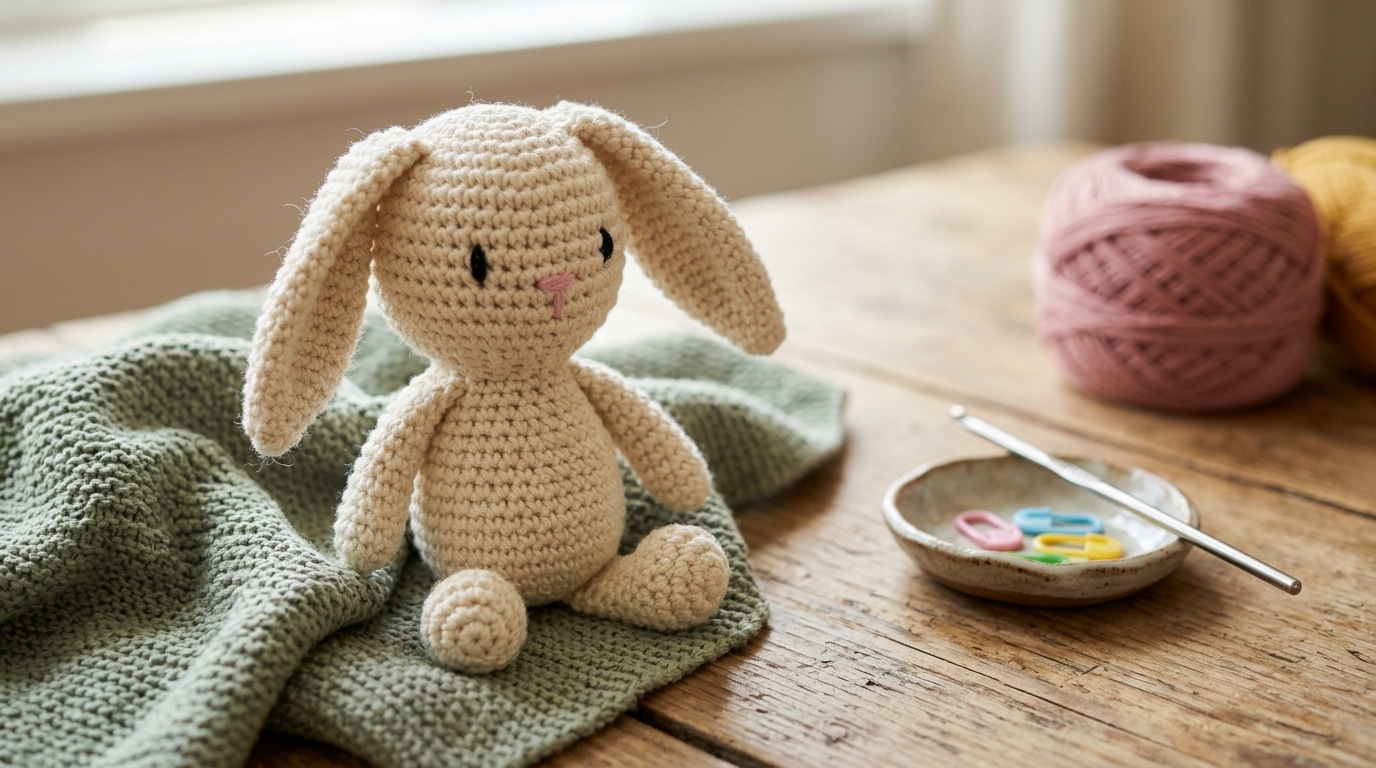
- An embroidered face. Stitching the eyes and nose is simpler than placing safety eyes, and it is the safer choice for babies and young children.
- A comfortable size. Very tiny toys need a small hook and fine yarn, which is harder on the hands and eyes. A medium toy in smooth cotton is easier to see and to count.
How to Read the Skill Level on a Product Page
There is no official scale, so each designer uses their own words. These are the labels you will meet on product pages in my collection, and what they usually mean in practice:
| Label on the listing | What it tells you |
|---|---|
| Beginner / Beginner friendly | Built for first projects. Look at the list of stitches it expects you to know. |
| Easy | The designer rates it as simple, but check the finished size and the stitch list. |
| Level 2: Elementary | Beginner skills plus a few more stitches. The listing names them, so check you know each one. |
| Intermediate | More parts, finer yarn or clothes. Save these for your second or third toy. |
If you are not sure what an abbreviation or a round count means, my guide on how to read an amigurumi pattern explains it step by step. And if the craft itself is new to you, start with what amigurumi is.
7 Easy Amigurumi Patterns to Try First
These patterns are ordered from the gentlest start to a small step up. The descriptions come from each product page, so check the page for the exact materials, terms and file details before you buy.
1. Cute Crochet Turtle Keyring
Level on the listing: Beginner / advanced beginner. A compact turtle with a mint-green body, a contrasting shell, flippers and a keyring attachment. The PDF includes round-by-round instructions with stitch counts, stuffing guidance and eye placement. It uses very little yarn, so it is a good way to try amigurumi without committing to a big project.
2. Beginner Crochet Rabbit Lovey
Level on the listing: Beginner-friendly. A bunny head with long floppy ears on a textured lovey blanket. The designer describes the pattern as using stitched facial features and no plastic parts, with written instructions for the head, ears, arms and blanket. It makes a sweet baby gift, but follow your local safety guidance for toys.
3. Crochet Easter Bunny
Level on the listing: Beginner-friendly. A plush bunny with floppy ears, rounded feet and an embroidered face, with minimal sewing and a face embroidery guide. It looks lovely in neutral or pastel yarn, and Easter is months away, so you have plenty of time.
4. Frog Hat Doll
Level on the listing: Beginner friendly. A doll about 9 in (22-23 cm) tall in a frog hat and overalls. The listing expects you to know the magic ring, single crochet, increases and decreases, and it includes a full materials list. It is a good way to try a doll without a long wardrobe of clothes. For a young child, use embroidery thread for the eyes.
5. Crochet Dolphin
Level on the listing: described as suitable for both beginners and experienced crocheters. A smooth, curved sea animal that can be a toy, a decoration or a keychain. The finished size depends on your yarn and hook, so thin yarn gives a tiny dolphin and thicker yarn a bigger one.
6. Bat Amigurumi
Level on the listing: described as an easy pattern. A little bat about 12 cm tall with wings that spread about 12 cm wide. The designer says two or three can be made in a day, which makes it a fun seasonal project. It uses fingering or light worsted yarn with a 2.5 or 3.0 mm hook, so go slowly and count your stitches.
7. Santa Gnome Ornament
Level on the listing: Level 2 (Elementary). A Santa gnome about 15 cm (6 in) tall, with 84 photos in a 14-page PDF. It uses a few more stitches than the others, including working in the back and front loops and half double and double crochet. Choose it when you have made one or two simpler toys.
Tips for Your First Amigurumi
- Use smooth, light-colored yarn. Cotton or cotton blends show the stitches clearly, so mistakes are easy to spot. Save fuzzy and dark yarn for later. My amigurumi starter kit checklist lists everything else you need.
- Use a smaller hook than the yarn label suggests. Tight stitches keep the stuffing from showing. The pattern lists the hook it recommends, so follow it.
- Count at the end of every round. Compare your count with the number in parentheses. A neat invisible decrease also gives a smoother finish when you close the shape.
- Mark the start of each round. A stitch marker keeps your place in a spiral.
- Stuff firmly, a little at a time. Small pieces of stuffing fill out the shape evenly.
- Add details last. Sew on eyes, noses and small parts after stuffing, so the toy keeps its shape and stays clean.
Want more ideas? Ready for something bigger? Read how to make an amigurumi doll. Browse my roundups of amigurumi animal patterns and amigurumi doll patterns, or see the full list on the patterns page.
Frequently Asked Questions
What is the easiest amigurumi to make?
A simple round animal with few parts, such as a small turtle, a bunny or a dolphin, is usually the easiest. Choose a pattern with step-by-step photos and basic stitches only.
How long does a first amigurumi take?
It depends on the size and on how fast you crochet. Small toys can be finished in an afternoon or an evening, and the designer of the bat pattern above says two or three bats can be made in a day. Plan more time for dolls with clothes.
Do I need to know how to read patterns before I start?
Not before you start. Many easy patterns use only a few abbreviations. Keep a stitch guide beside you, and read my guide on how to read an amigurumi pattern for the basics.
What yarn is best for a first project?
Smooth cotton or cotton-blend yarn in a light color is easiest, because you can see every stitch. Check the pattern for the yarn weight and hook it recommends and follow that for your first toy. For a closer look at fibers, weights and yarn labels, read my guide on the best yarn for amigurumi.
Is it safe to give an amigurumi to a baby?
Small parts can come loose, so for babies and young children it is safer to embroider the eyes and avoid buttons and beads. Always follow the safety guidance for toys where you live.
Happy crocheting!