This post contains affiliate links. If you download a pattern through them, I may earn a small commission at no extra cost to you. Thank you for supporting Little Amigurumi Studio!
New to the craft? Start with what is amigurumi and how crochet toys are made.
Look closely at a well-made amigurumi toy and you will notice that the top of the head is smooth, with no hole in the middle. That neat center usually comes from the magic ring (also called a magic circle or adjustable loop). Starting with a chain, for example chain 2 and then working into the second chain from the hook, can leave a small hole in the center where the stuffing may show through later.
This guide shows how to make a magic ring step by step, what to check when it will not close, and a few PDF patterns to practice on. For more tips on neat, tight amigurumi, see my Christmas ornaments guide, which also covers the invisible decrease.
What Is a Magic Ring in Crochet?
A magic ring is an adjustable loop of yarn. You work your first round of stitches into the loop, then pull the starting tail to cinch the center closed. Most round amigurumi pieces, such as heads, balls and ornaments, begin this way.
Step-by-Step: How to Crochet a Magic Ring
Follow these steps to make a magic ring that will not slip while you work.
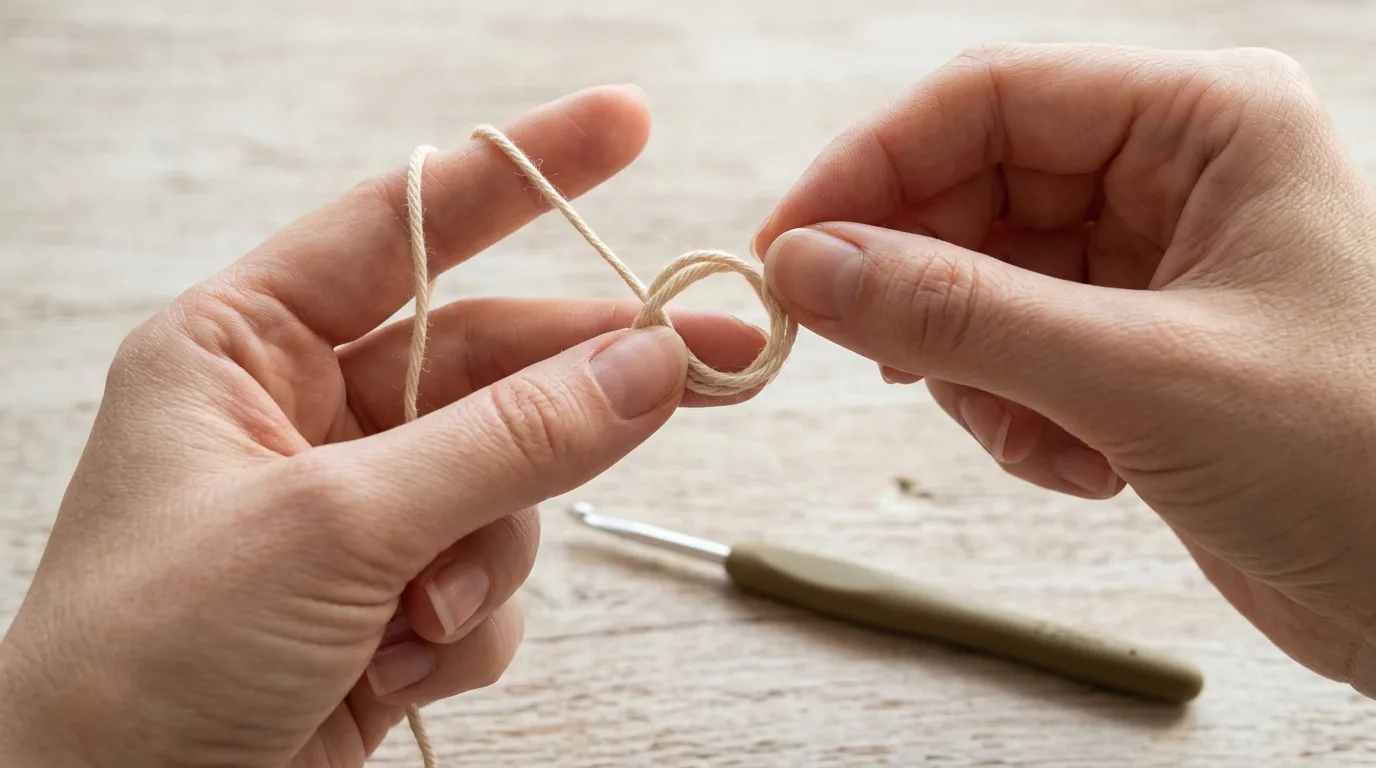
- Make the loop. Lay the yarn tail across your fingers, then wrap the working yarn (the strand attached to the ball) around your index and middle fingers so the strands cross in an “X”. Keep the working yarn at the back.
- Pull up a loop. Slip your hook under the first strand of the circle, catch the working yarn (not the tail) and pull a loop through.
- Lock it with a chain. Make one chain to hold the ring. For a single crochet start, one chain is enough, and it does not count as a stitch. If your pattern starts with a taller stitch, follow its instructions.
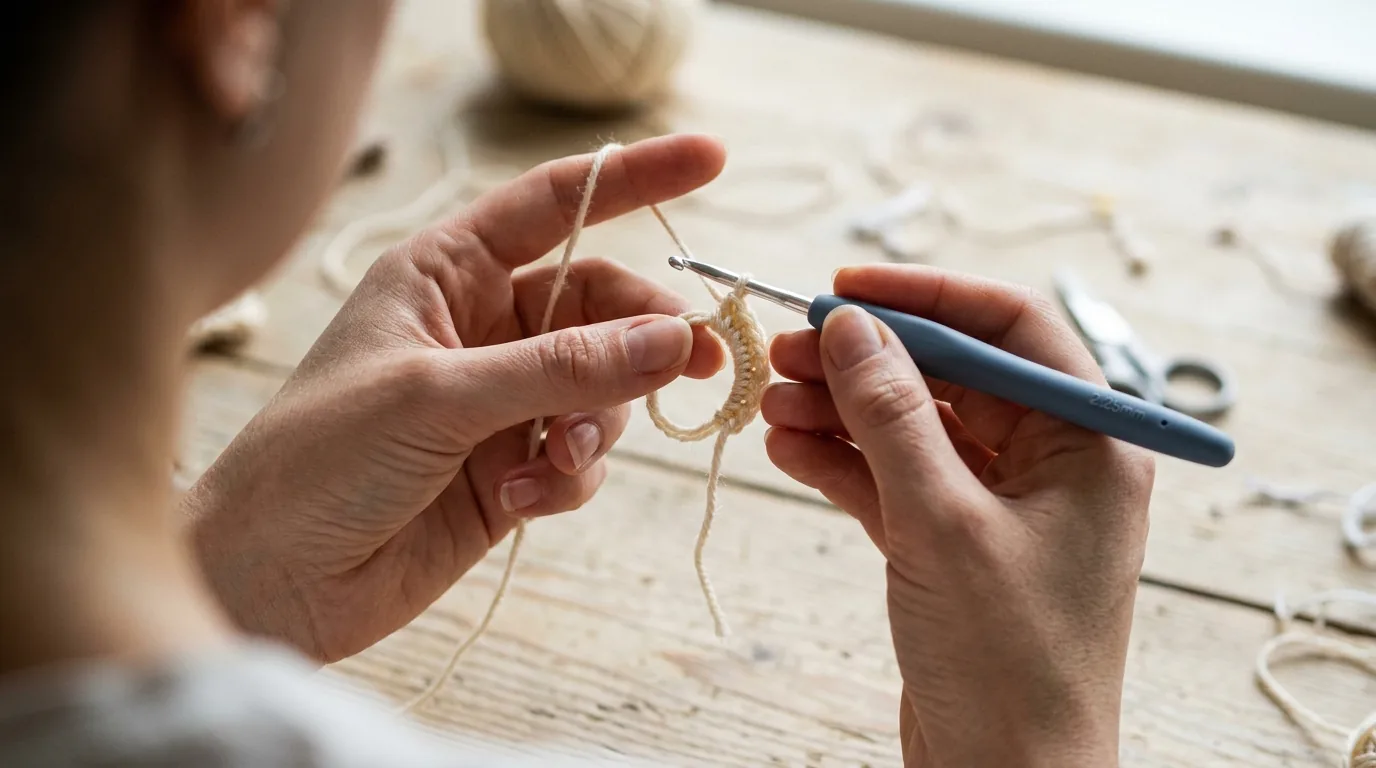
- Work the stitches into the ring. Make the number of stitches your pattern calls for, usually 6 single crochets. Insert the hook into the ring each time and make sure every stitch also covers the yarn tail, so each stitch encloses two strands.
- Close the ring. Hold the new stitches between your thumb and forefinger and pull the tail firmly. The loop slides shut and the stitches form a tight circle. If it loosens a little after the next round, pull the tail again.
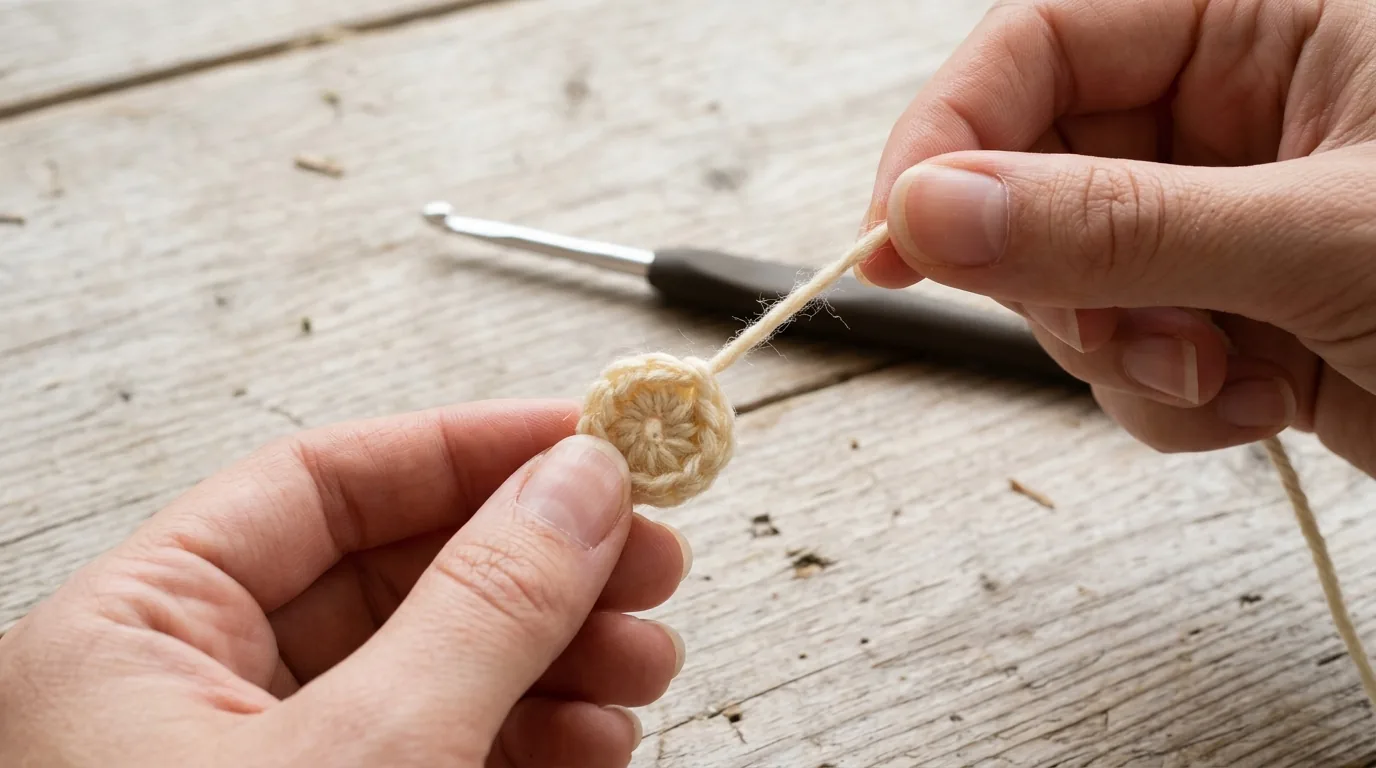
Troubleshooting: Why Won’t My Magic Ring Close?
If you pull the tail and the center does not tighten, check these common causes:
- The stitches did not cover the tail. This is the most common reason. Each stitch should enclose both the ring and the tail. If the tail was left outside the stitches, pulling it does nothing.
- The wrap was set up the wrong way. Check that the working yarn is at the back and that you pulled up a loop with the working yarn, not with the tail.
- The ring is too small for your yarn. With thicker yarn, a loop around one finger can be too tight to work into. Wrap the yarn around two or three fingers instead.
Tip: To keep the ring from loosening after you stuff the toy, tie the starting tail in a secure knot around a nearby stitch on the wrong (inner) side, then weave in the end.
Amigurumi Patterns to Practice On
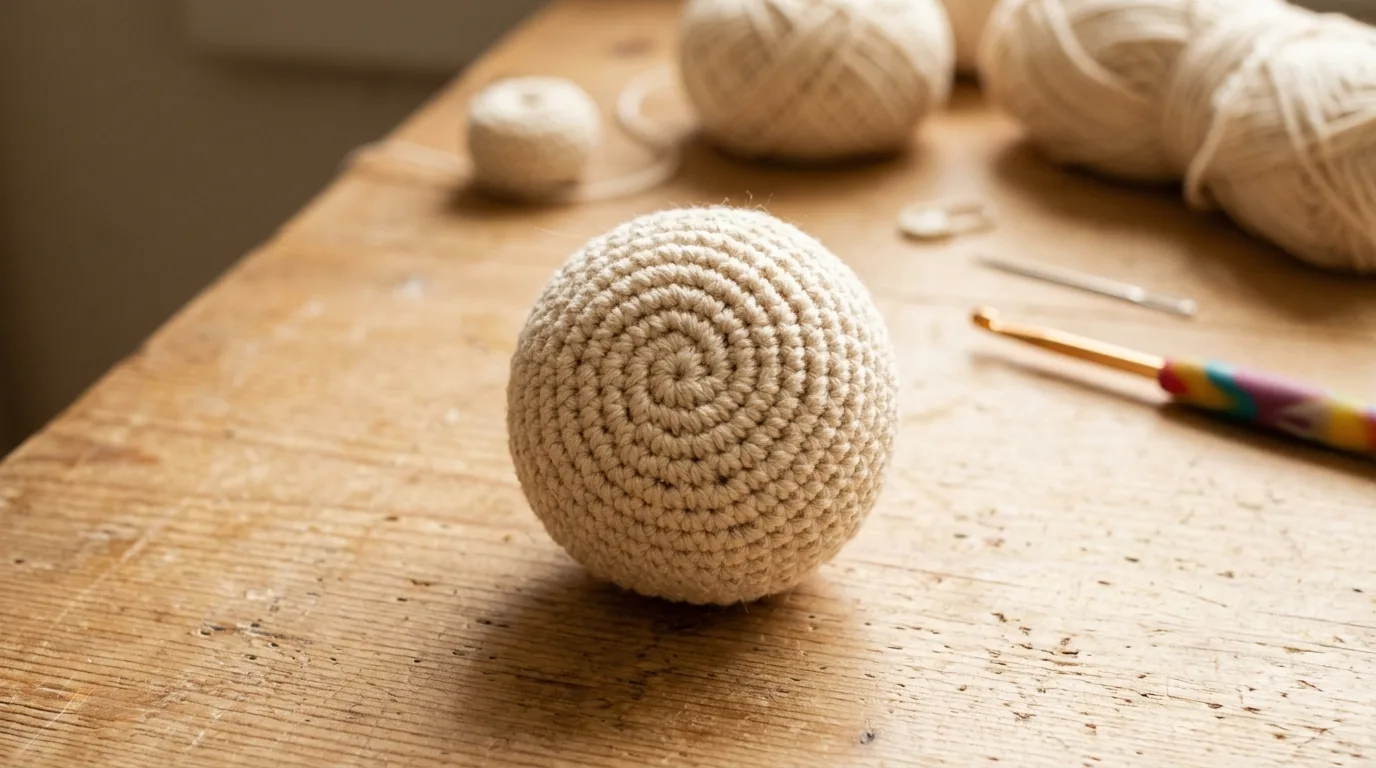
Round heads and bodies are the best place to practice your new skill. Here are three PDF patterns on Creative Fabrica. The descriptions come from my pattern roundups. Open the PDF’s first round to see how each pattern starts, and check the product page for the exact materials before you buy.
1. Frog Hat Doll
A doll about 9 in (22-23 cm) tall with a green frog hat, green overalls and braids. The listing describes it as beginner friendly.
Get the Frog Hat Doll Pattern →
2. Bunny Lovey Blanket
A soft comfort blanket about 12 x 12 inches with a round bunny head, long floppy ears and a textured square body. A relaxed beginner project.
3. Plush Easter Bunny
A beginner-friendly bunny that needs very little sewing, so most of your time goes into the crocheting itself.
Get the Easter Bunny Pattern →
Want more ideas? Browse my roundups of amigurumi animal patterns and amigurumi doll patterns.
Frequently Asked Questions
Is a magic ring the same as an adjustable ring?
Yes. “Magic ring”, “magic circle” and “adjustable loop” are different names for the same technique.
What can I do if I cannot get the magic ring to work?
Use the simple alternative: chain 2, then work 6 single crochets into the second chain from the hook. It can leave a slightly larger center hole, which you can close afterward by sewing it shut with the starting tail.
Does the magic ring work with fluffy yarn?
Yes, but fluffy fibers hide the loops, so it is harder to see what you are doing. Feel for the loop with your fingers, or practice first with a smooth cotton yarn.
2 thoughts on “How to Crochet a Magic Ring: Step-by-Step Amigurumi Guide”